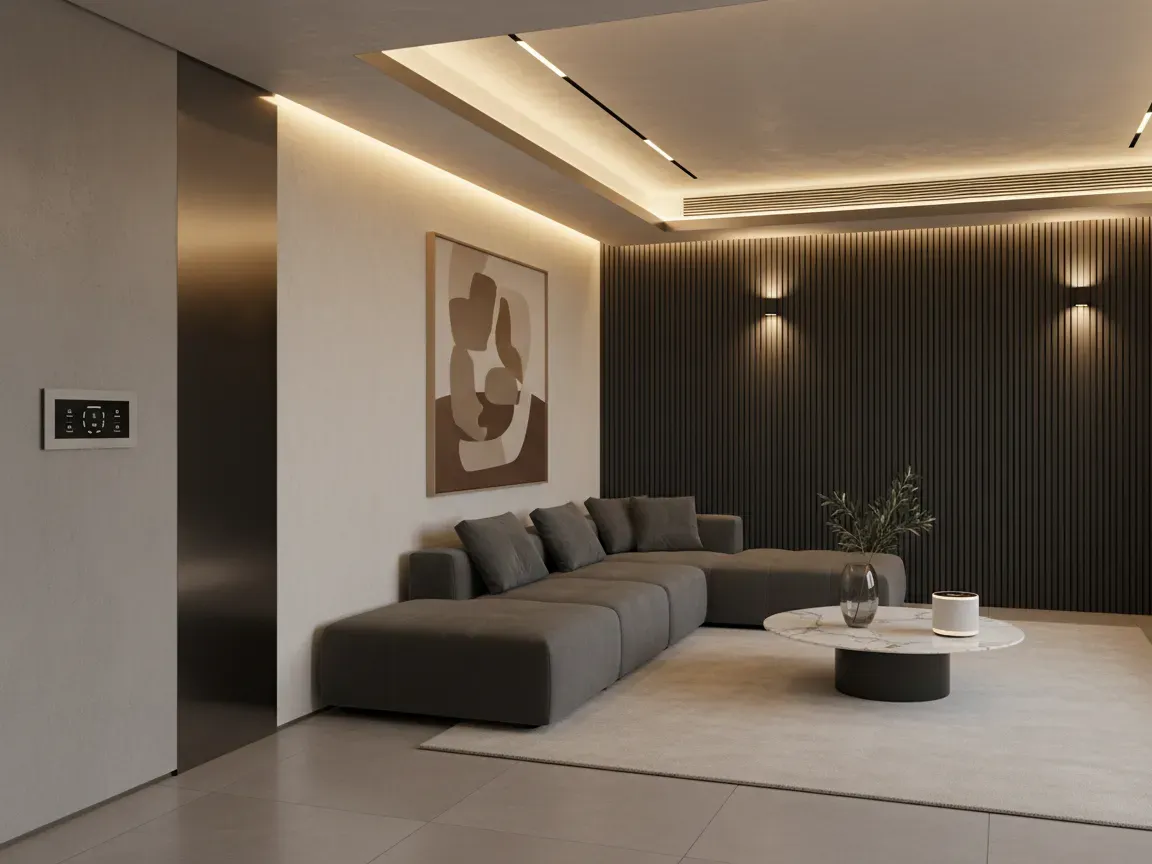
Smart lighting has evolved far beyond color-changing wireless bulbs screwed into standard bedside fixtures. Homeowners designing custom architectural spaces increasingly demand seamless, hotel-grade illumination that dims to near-zero levels without buzzing or visible stepping. While standard wireless smart home protocols work fine for basic convenience, high-end architectural builds frequently turn to DMX512. Originally developed for stage lighting and entertainment venues, this robust protocol offers unparalleled stability and precision for residential living.
Transitioning to professional control requires careful planning before closing up the drywall. Understanding the physical cabling, control hardware, and integration steps ensures your investment creates a welcoming sanctuary rather than a maintenance headache.
Why homeowners are switching to DMX for residential lighting?
Traditional consumer smart bulbs often frustrate users who care about aesthetic refinement. Standard wireless fixtures frequently suffer from noticeable delays between separate fixtures, harsh dimming curves that abruptly cut out around ten percent brightness, and dropped signals whenever Wi-Fi networks get congested. In a living room featuring cove lighting, wall washers, and under-cabinet accents, having one strip respond a fraction of a second later than the others ruins the atmosphere.
DMX changes this dynamic by offering high-speed, synchronized data transmission. It treats illumination as continuous real-time data, enabling smooth dynamic fades, precise color temperature transitions, and zero perceivable latency across hundreds of fixtures. Homeowners who value circadian rhythm automation find that DMX allows their interior environment to track natural daylight smoothly throughout the day. The color shifts from energizing morning hues to cozy, warm amber in the evening without jarring steps.
How DMX protocols differ from standard smart home standards?
Most smart home platforms rely on wireless mesh systems like Zigbee, Z-Wave, or Thread, or they communicate over local Wi-Fi. While these protocols minimize installation effort in existing construction, they carry inherent packet overhead and limited bandwidth. They are designed primarily to transmit commands like turn on or set level to fifty percent, leaving it to the bulb firmware to decide how to execute that fade.
In contrast, DMX is a unidirectional, hardwired protocol operating over RS-485 serial communication. A standard DMX universe sends state data across 512 channels dozens of times per second. Each channel corresponds to a single parameter, such as the brightness of a single white diode, the red diode in an RGB strip, or the angle of an adjustable downlight. Because the stream of commands is constant and wired, there is no negotiation or packet loss. You get flawless, millisecond-accurate synchronization that consumer wireless standards simply cannot achieve over dense residential networks.
What hardware you need to run reliable DMX fixtures?
Setting up an architectural DMX system requires dedicated infrastructure between your central automation controller and the fixtures themselves. At the core sits a controller or gateway that translates high-level smart home scenes into raw DMX channel values. This controller speaks to the drivers responsible for powering your LED strips, downlights, and accent pendants.
Choosing the right driver topology is essential to prevent flicker, buzzing, and premature diode degradation. While budget tape lights often run on constant voltage supplies with inline decoders, architectural luminaires typically require precise current regulation. Installing a dedicated DMX constant current LED driver provides smooth, flicker-free dimming down to true zero while protecting sensitive LED chips against thermal runaway and voltage fluctuations. Beyond drivers, you need reliable power supplies, distribution blocks, and terminal connectors built for clean low-voltage wiring panels.
Planning cable runs and power distribution for architectural lighting
DMX requires a daisy-chain topology rather than the star or tree configurations common in standard electrical wiring. Running one central backbone loop from your control cabinet to each successive fixture or driver location prevents signal reflection and command corruption. Installers commonly use shielded twisted-pair cabling, such as Cat6 or dedicated RS-485 cables, keeping the signal lines cleanly isolated from high-voltage AC circuits to avoid electromagnetic interference.
Power distribution requires equal forethought. Low-voltage DC lighting can suffer significant voltage drop over long wire runs, leading to dimmed output or uneven colors at the far end of an LED run. Homeowners should plan central power equipment closets where heavy transformers reside, sizing copper conductors properly to keep voltage drop under three percent across every architectural zone.
Common mistakes to avoid during low voltage lighting setup
One frequent misstep in DIY or novice installations is failing to terminate the DMX data chain. Without a 120-ohm terminating resistor across the data lines at the final fixture on the run, signals bounce back along the line, causing random flickering, delayed responses, or ghosting effects throughout the entire zone.
Another common mistake involves mixing data protocols with unregulated power grounds. Always establish a common signal ground across every DMX decoder and interface to keep reference voltages stable. Additionally, never split DMX data lines using simple wire nuts or standard junction boxes. If your architectural floor plan requires branching lines into separate rooms or outdoor zones, deploy an active DMX splitter that isolates and repeats the signal properly along distinct legs.
How to integrate your lighting universe into central automation systems?
While DMX excels at handling high-frequency fixture control, homeowners rarely want to interact with raw DMX console sliders to turn on a hallway light. The best residential implementations merge DMX into comprehensive home automation systems like Home Assistant, Control4, Crestron, or Lutron. This integration typically happens over an IP-based bridge using modern lighting protocols like Art-Net or sACN.
In this hybrid setup, wall keypads, occupancy sensors, and mobile applications talk to your smart home processor over standard network protocols. When you push a scene button labeled Movie Night, the central system commands the Art-Net node to stream predefined DMX values to your ceiling washes and step lights. You enjoy intuitive residential interfaces while the hardwired DMX backbone delivers professional, silent performance behind the scenes.
Bringing professional illumination into your home sanctuary
Upgrading your home lighting to professional control standards requires more initial effort than buying off-the-shelf smart bulbs, but the visual payoff transforms daily living. Clean transitions, true deep dimming, and absolute system reliability turn lighting from a basic utility into an expressive architectural feature that enhances your interior design.
Taking the time to route shielded cabling, select robust drivers, and incorporate proper signal splitters guarantees that your smart lighting system performs smoothly for decades to come. With a dependable DMX infrastructure in place, your living spaces will always enjoy the perfect ambiance at the touch of a button.

Emily Hayes
Emily believes that a home should be a personal sanctuary. She provides practical advice on interior design, smart organization solutions, and budget-friendly DIY projects to help you create a beautiful and functional living space.